
Building a Template
A template is a reusable blueprint for a trade: which option legs it has, how their strikes are chosen, how the order is worked into the market, and the rules that manage it afterward. Build a template once and you can run it again and again: by hand from the Quick Execute card, or automatically from a strategy.
Open Templates (under Automation in the nav), then choose New Template to open the Create Template sheet. Everything below is a section of that sheet; fill only the parts you need and save.
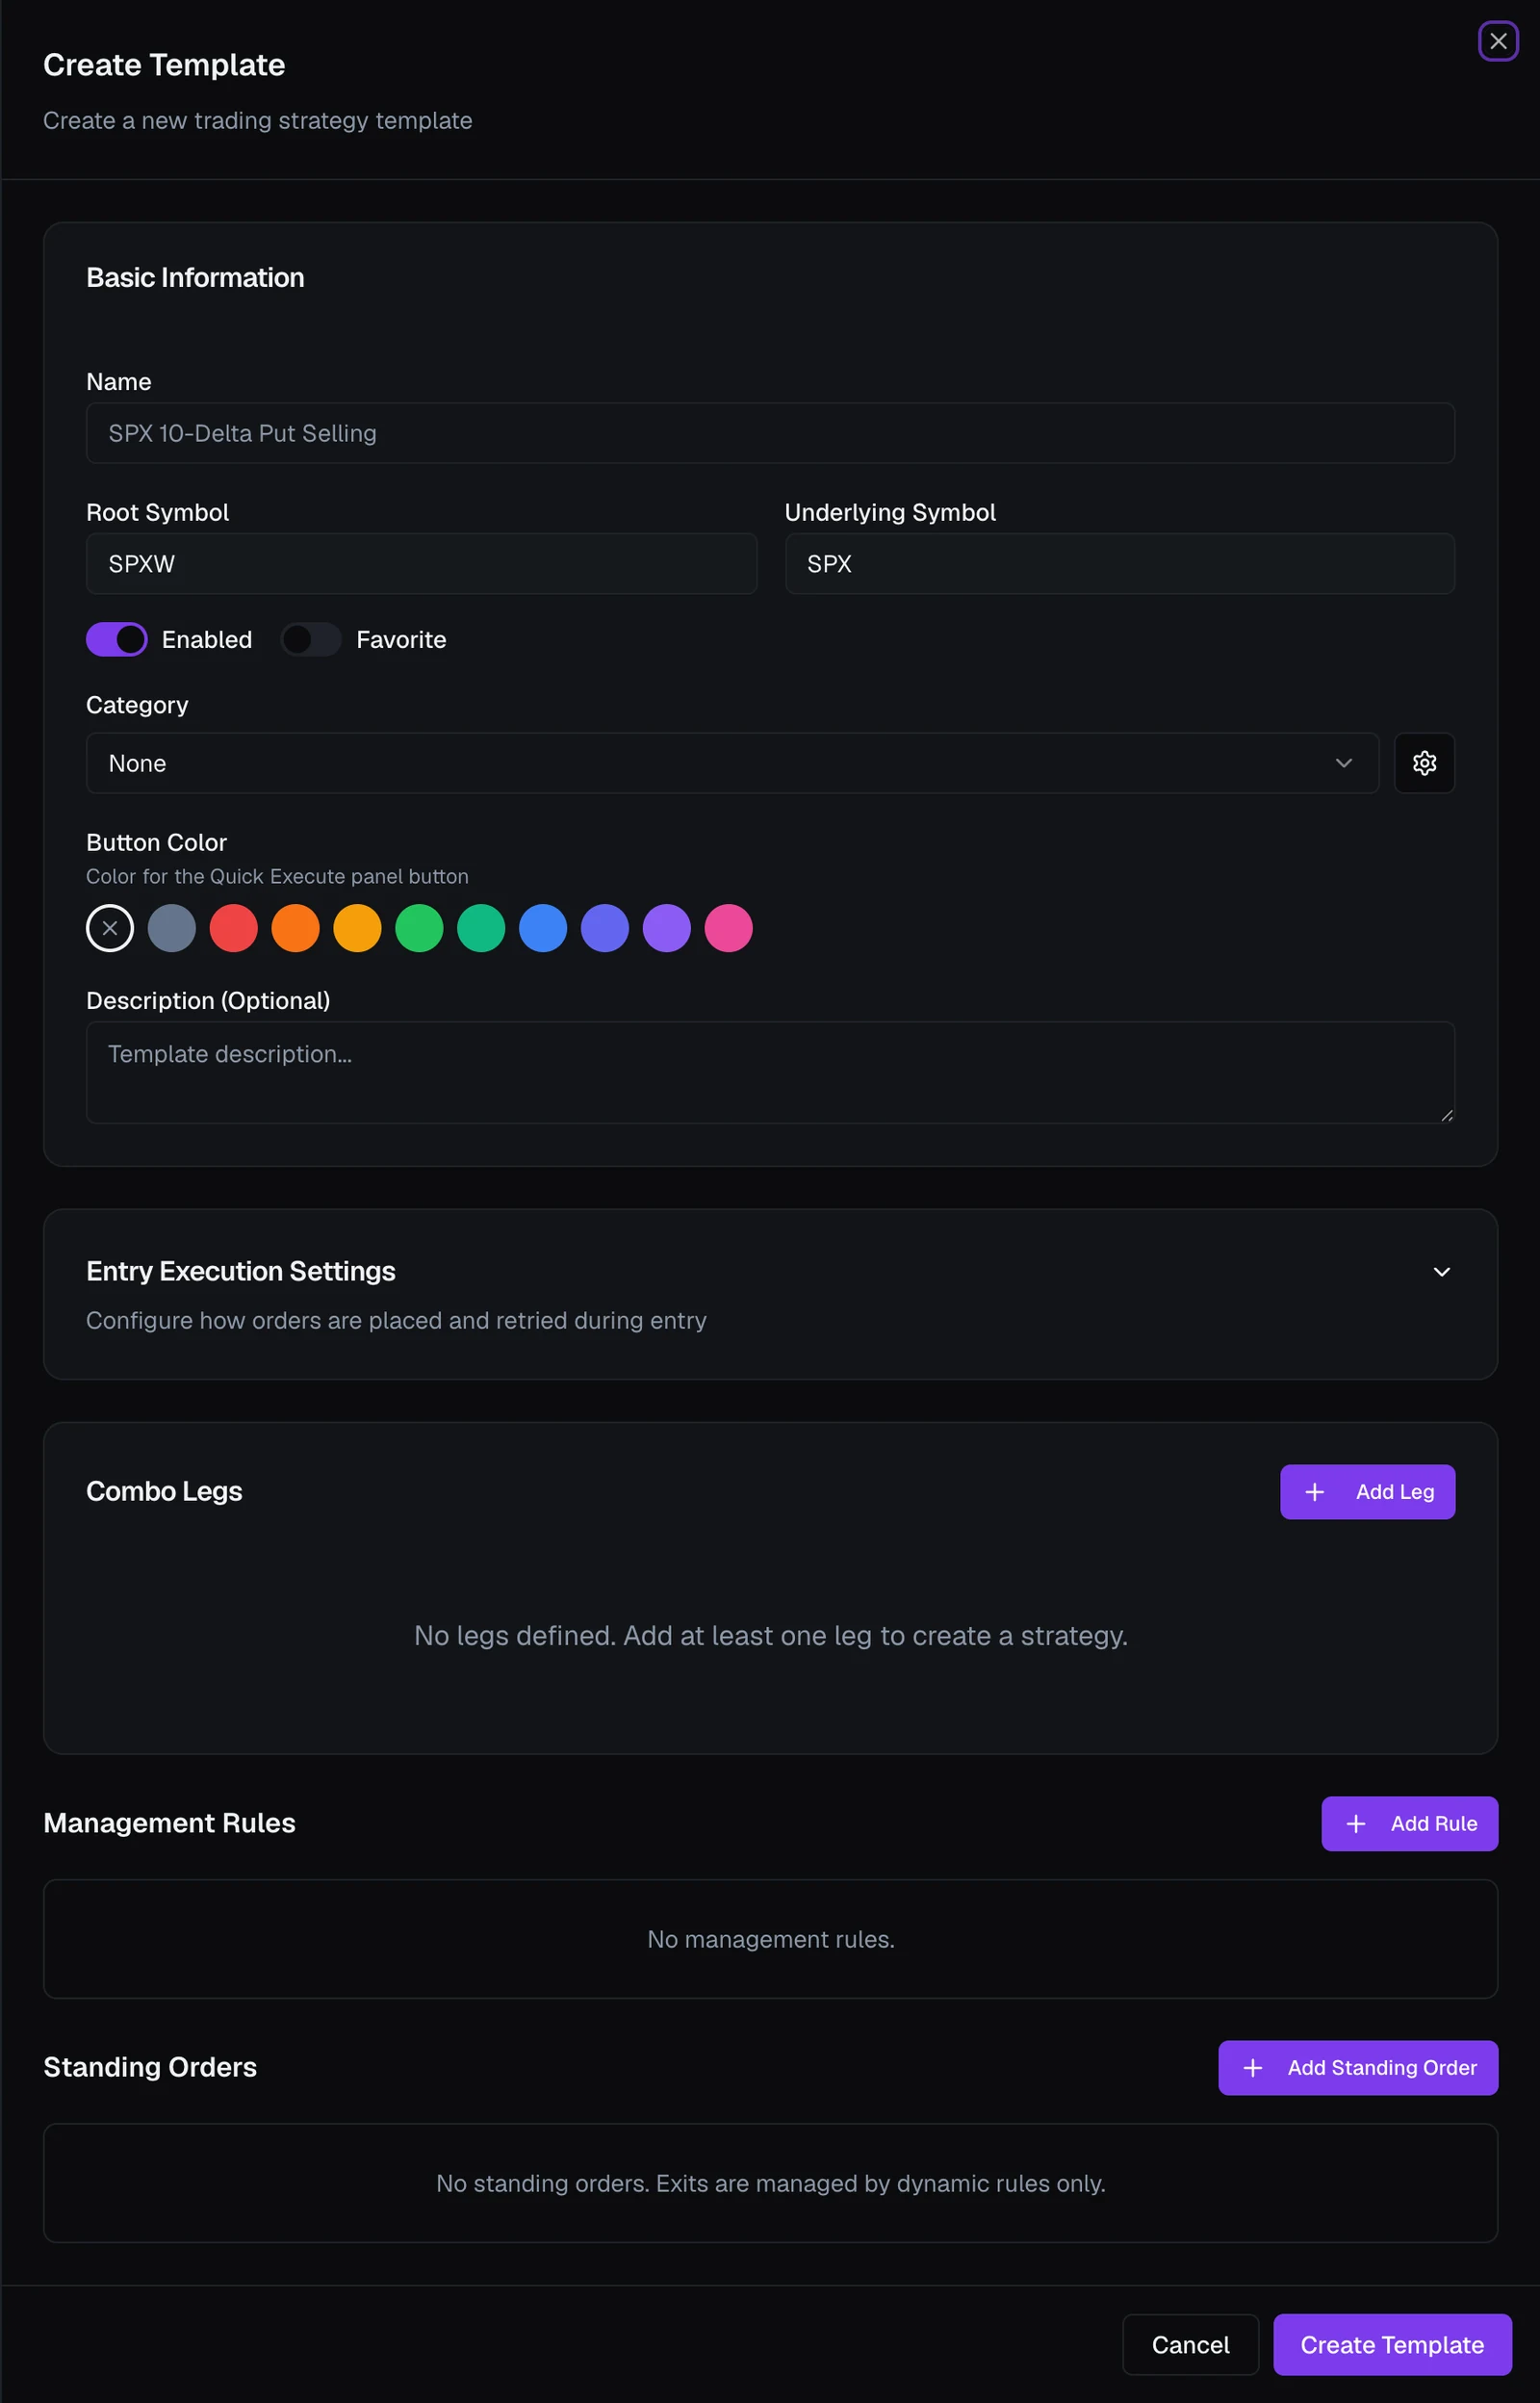
Basic information
Give the template a Name: this is what you'll see on its Quick Execute button and in the template list.
Underlying Symbol is the instrument the template trades: SPX, XSP, SPY, or QQQ. Root Symbol comes from that choice and stays read-only: pick SPX and the root becomes SPXW, pick QQQ and it becomes QQQ. VolNinja works out everything else that differs between instruments: the strike ladder, the minimum price increment.
Warning
Pick SPY or QQQ and a badge appears: Assignment not managed — SPY options are American-style and settle in shares. Check IBKR after expiry. Take it literally. SPX and XSP are cash-settled and can only be exercised at expiry, so a short leg you hold to the close settles in dollars. SPY and QQQ options can be assigned to you at any time, and assignment delivers shares. VolNinja does not detect it, close it out, or account for it. If you trade those two, check your Interactive Brokers account after expiry yourself.
The Favorite switch promotes the template onto the Dashboard's Quick Execute card. When it's a favorite you can also pick a Category (to group it) and a Button Color. A Description is optional.
Tip
A Favorite template with a distinct Button Color becomes a one-click, color-coded button on the Dashboard's Quick Execute card, the fastest way to fire a setup you run often. See Placing a trade.
Combo legs
The Combo Legs section is the trade itself: the options the template buys and sells. Choose Add Leg to open the leg form, and repeat for each leg (a short strangle has two, a spread two, and so on).
Each leg is defined by its Action (Long to buy, Short to sell), Option Type (Call or Put), how many days to expiration (DTE, 0 for same-day), a Ratio (its size relative to the other legs), and a Strike Selector that picks the strike at execution time rather than pinning a fixed number: by Delta, by Premium, by Offset (strikes from at-the-money), or by % OTM. Because the strike is chosen when the template runs, the same blueprint adapts to wherever the market is that day.
Template legs covers the full leg form, every selector and every option on it.
Entry execution
Below the legs, the Entry execution algo picker decides how the order is worked into the market once you run the template: where it starts pricing, how it re-prices while it waits, and when it gives up. Every new template starts on a sensible built-in, so you can leave this alone at first and tune it later.
Entry execution is the difference between a patient fill and a fast one, so it has its own article: Entry execution covers the built-in entry algos and when to choose each, and Execution algos covers building your own.
Tranches
The Tranches section is optional. Split into tranches divides each entry into weighted sub-positions (say a "Front half" you take profit on early and a "Runner" you let ride), and each one is closed and managed by its own rules. Give each tranche a name and a weight; the line underneath shows how the weights split the entry. You need at least two, and Add tranche goes up to ten. Management rules covers how to scope a rule to one tranche.
Rules
A template can carry its own automation, so it manages the positions it opens while you are away. The Rules section is one list: choose Add Rule to take profit, stop a loss, close or roll a leg, or exit at a time of day, each triggered by a P&L target or conditions you set. See Management rules for writing them.
You don't decide where a rule runs. When a rule's target and action allow it, VolNinja rests it at your broker as a real order that keeps protecting you even if the app isn't running; otherwise it runs in the app while VolNinja is running. Where rules run explains how that's decided and how to see which of your rules are standing at the broker.
Rules use the same rule/condition/action model as everywhere else in VolNinja, explained once in Rules and conditions. For the whole exit workflow, see Automating exits & management.
Save and use it
Choose Create Template to save. It now appears under Active Templates on the Templates page, where the ▶ (Execute) button opens a position from it, and you can edit, clone, and favorite it. To run it by hand, see Placing a trade; to hand it to an automated strategy, see Running a strategy.
Tip
Try a new template in Paper first: run it, watch how it fills and how its rules behave, then switch to live once you trust it. See Paper vs live — trading safely.