
Installing & Starting VolNinja
VolNinja runs on your own machine: a Mac, a Windows PC, a Linux box, or a small cloud server (VPS) you control. That is what keeps your trading data and your IBKR connection private: they live with you, and the cloud only handles your login and billing. See How VolNinja works for the full picture.
There are two ways to install it:
- VolNinja Desktop — an app for Mac and Windows. You download one file, install it like any other app, and VolNinja runs in your menu bar or system tray. Nothing else to install. This is the recommended path for almost everyone.
- Docker — the advanced path, for a cloud server (VPS), Linux, an Intel Mac, or anyone who prefers running VolNinja from a terminal, in an isolated environment. It has its own page: Advanced: Docker & VPS install.
This page covers VolNinja Desktop, then the one-time step every install shares: connecting your machine to your account. When you are done, head to Connecting IBKR.
Before you start
- An active VolNinja subscription or trial, with a verified email. The desktop download and the Docker install command are both unlocked once your email is verified and your subscription or trial is active. If you have not signed up yet, start with Account & billing.
- IBKR Gateway or TWS. VolNinja trades through Interactive Brokers, so you will need IBKR's Gateway or Trader Workstation running on the same machine. You can install it now or right after; the walkthrough is in Connecting IBKR.
Important
VolNinja and your IBKR connection only work while the machine they run on is awake and online. On a laptop that means keeping it from sleeping during trading hours; for hands-off, around-the-clock trading, run VolNinja on a VPS with the Docker path.
Which path should I choose?
| VolNinja Desktop | Docker | |
|---|---|---|
| Runs on | Apple Silicon Macs (M1 or newer), 64-bit Windows 10 / 11 | Mac (including Intel), Windows, Linux, or a VPS |
| Extra software needed | None | Docker Desktop |
| How you control it | Menu bar / system tray app | Terminal commands |
| Trades 24/7 without your computer on | No | Yes, on a VPS |
| Updating | A button in the trading app | One terminal command |
If you have an Apple Silicon Mac or a Windows PC and you are happy trading while your computer is on, choose VolNinja Desktop. Everything else points to Docker: follow Advanced: Docker & VPS install instead of the rest of this page.
Download VolNinja Desktop
You can download the app from either of two places, whenever you need it:
- Your welcome page at volninja.com/welcome, in the Install VolNinja on your machine step.
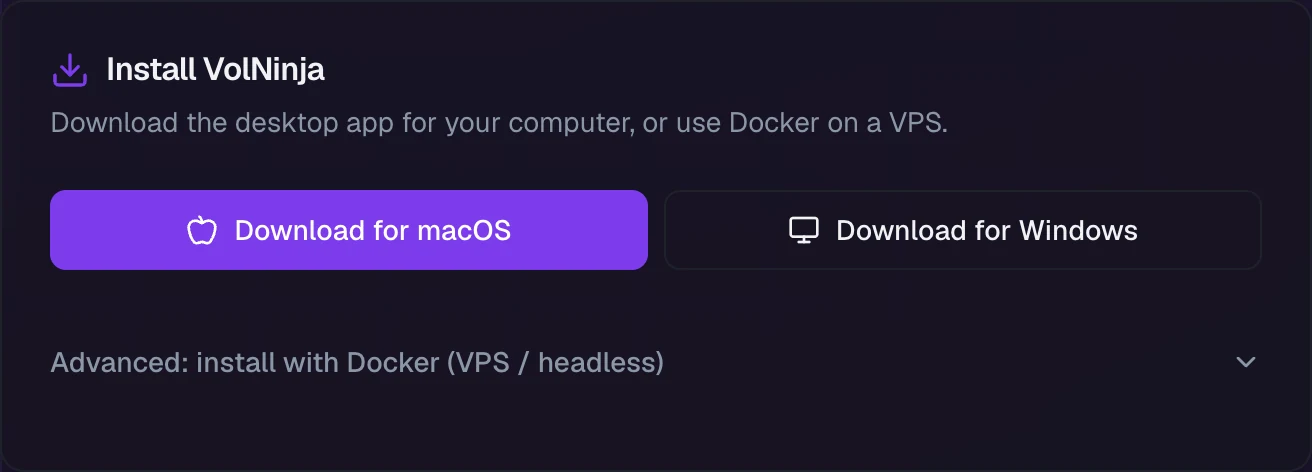
- Your account page at volninja.com/account, in the Install VolNinja card. That card stays there permanently, so it is where you go to install VolNinja on a second machine later.
Click Download for macOS or Download for Windows.
Install on a Mac
VolNinja Desktop is built for Apple Silicon Macs (M1 or newer). On an Intel Mac, use the Docker path instead.
- Open the downloaded file, then drag VolNinja into your Applications folder.
- Open VolNinja from Applications. VolNinja is signed and approved by Apple, so macOS only asks the usual one-time "downloaded from the Internet, are you sure you want to open it?" question. Click Open.
- VolNinja lives in your menu bar, not the Dock. Look for the VolNinja icon at the top right of your screen. Its VolNinja window opens the first time you launch it.
- It starts itself. The first start is the slowest, because VolNinja sets up its own private database. You are running when Engine in the VolNinja window turns green.
Install on Windows
VolNinja Desktop is built for 64-bit Windows 10 and 11 (Intel or AMD).
- Run the downloaded setup file. The installer is digitally signed, so it should start straight away. If Windows still shows "Windows protected your PC", click More info, then Run anyway. That happens only while a new version is still building its reputation with Microsoft.
- Follow the installer, then launch VolNinja.
- VolNinja lives in your system tray, next to the clock. You may need to click the small arrow (^) to see hidden icons. Its VolNinja window opens the first time you launch it.
- It starts itself. The first start is the slowest, because VolNinja sets up its own private database. You are running when Engine in the VolNinja window turns green.
The VolNinja window
The small VolNinja window is your control panel on the desktop app. Open it any time from the menu bar / tray icon → Open Status.
- Open Trading App — opens the trading app in your browser. This is where you trade.
- Engine — whether VolNinja itself is running and healthy. A green dot is what you want; while it is starting or stopped, the state is written beside it. Click the row to expand it and see each part of the engine on its own: Database, Backend, Trading Worker, Market Data Worker, Monitoring Worker, and Simulation Worker. The small buttons at the right of the row start the engine when it is stopped, and stop or restart it when it is running. You will rarely need them.
- IBKR Connection — your broker connection at a glance. Click it to expand Live, Paper, and Market data, each with its own status. All grey until you set up IBKR Gateway or TWS, which is the next article: Connecting IBKR.
- Set up / pair this machine — shown only until this machine is connected to your account (next section).
- More — click to expand:
- Open Logs — opens VolNinja's log files, useful if support asks for them.
- Check for Updates… — updates VolNinja in place, without downloading anything yourself. If you are already on the newest version, it tells you so. Until this machine is connected to your account it opens the setup page instead, because updates are tied to your subscription.
- Start at login — have VolNinja start automatically when you sign in to your computer.
- Backups — back up your trading data, and restore an earlier copy. See Backups & restore.
The version you are running is shown in the bottom-right corner of the window.
The menu bar / tray icon carries most of the same actions: Open Status, Open Trading, Open Setup, Start Engine / Stop Engine, Restart Engine, Check for Updates…, Open Logs, Back Up Now, and Quit. The top of that menu shows the engine and database state as plain text. The icon itself is a live status light: green when everything is running, amber while starting, red when something needs attention, grey when the engine is stopped.
In the menu bar / tray menu, Check for Updates… stays greyed out, labelled Check for Updates… (pair first), until this machine is connected to your account. Connecting it is the next section.
Tip
Turn on Start at login so VolNinja is already up before the market opens. Closing the VolNinja window only hides it; VolNinja keeps running in the background.
Important
Quit stops VolNinja completely: it shuts down the engine, so nothing is monitored and no automation runs until you start it again. To get the window out of your way without stopping anything, close it instead.
Connect it to your account
Every install finishes the same way: a one-time pairing that links this machine to your VolNinja account. There is nothing to copy and no tokens to paste; you approve it in your browser.
On the desktop app, the VolNinja Setup page opens in your browser by itself the first time VolNinja comes up healthy. You can reopen it any time from the menu bar / tray icon → Open Setup, or from the Set up / pair this machine button in the VolNinja window.
- On the Connect to VolNinja Cloud card, click Connect to VolNinja Cloud.
- A short code appears. Click Open approval page (it opens a tab where you are signed in to your VolNinja account) and confirm that the code matches.
- The card switches to Paired, and an Open trading app button appears.
Below it, Local status shows the two things that matter: Local engine and Cloud tunnel. Once both are healthy and the card says Paired, you can reach your trading app from any browser, on any device, by signing in to your account.
Pairing is covered in more detail in Device pairing.
Important
Pairing does not move your trading data anywhere. It only tells the cloud which machine belongs to you, so that signing in to your account reaches your own VolNinja and nobody else's.
Keeping VolNinja up to date
You never have to go looking for updates. When a new version is available, VolNinja tells you with a banner across the top of the trading app.
On the desktop app, updating is one click: press Update now in that banner, or Check for Updates… in the VolNinja window or the menu bar / tray menu. VolNinja fetches the new version, installs it over itself, and restarts. You do not download or run an installer. Your positions, templates, strategies, and history are untouched. (If you are on an older desktop version that predates in-app updating, the banner offers Download update instead: download it and run the installer over your existing copy, once. After that, updates are one click.)
Before a new version changes anything, VolNinja takes a snapshot of your trading data for you; see Backups & restore. With a Docker install you run volninja update instead. Both paths are covered in Updating VolNinja.
Next steps
VolNinja is installed, running, and connected to your account. Now:
- Connect IBKR — get IBKR Gateway or TWS ready and confirm the connection.
- Take the tour — a quick walk through the main screens before your first trade.